I work with about 180 fourth and fifth grade students on a bi-weekly basis in the computer lab. Our sessions together are one hour each and since January, we've been making our way through all elements of the design process. Each student has been working through the 3D Design Challenge at his/her own pace. You can take a look at my earlier post 3D Printing in the Tech Lab to learn about the beginning steps. In this post, I'd like to focus on the final steps that must be completed in order to actually print.
Once students have completed their 3D planning sheet, they launch SketchUp which is installed on our lab computers. Students have a basic knowledge of how SketchUp works as they spent several class sessions working through the program/tools earlier in this process. Students are required to use their planning sheet sketch as a guide to create their 3D model. Any measurements needed were gathered prior to launching SketchUp. Depending upon the complexity of the invention, students may need more than one class session to complete the actual design. After two working sessions in SketchUp, approximately 40 students declared they were finished. These students were directed to save their projects to a network folder so I could access their files. At this point, the students' work is done and my work begins.
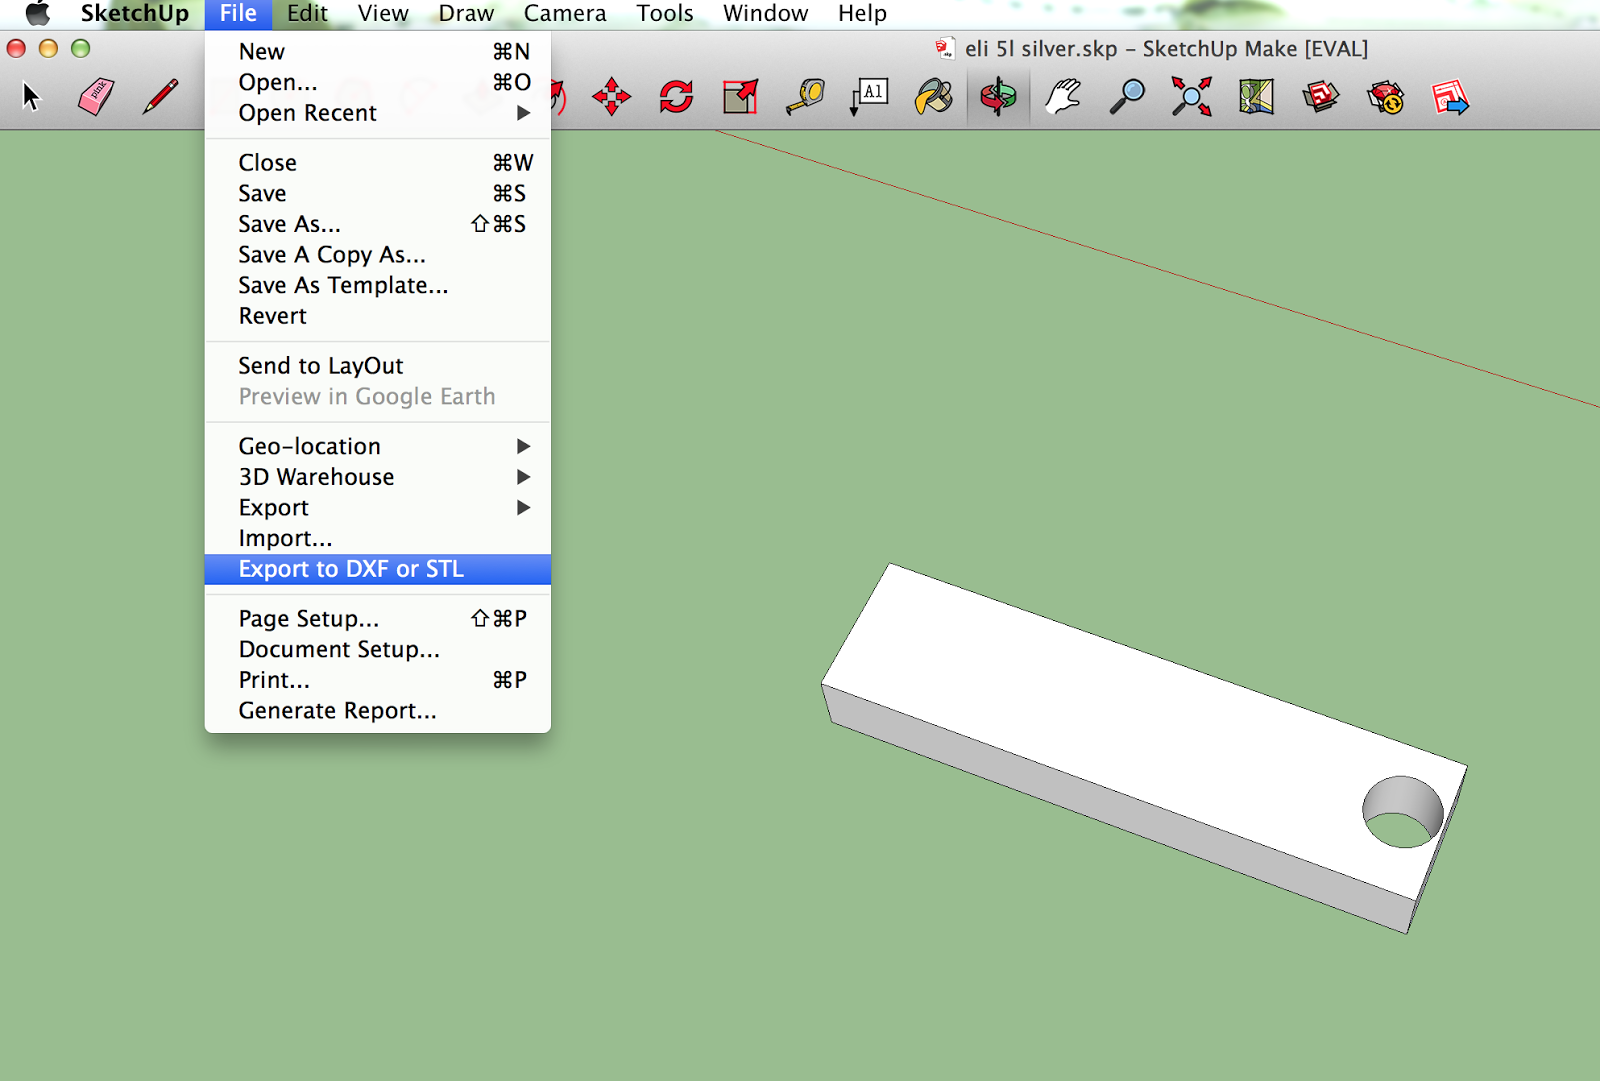 I access student files on the network and copy them to my computer lab's Google Drive account. This allows me to then download the files to my laptop. I have the most recent version of SketchUp on my computer with the STL extension which is needed to convert the files for printing. You can learn more about the needed extension by visiting the SketchUp website. I open each student's file, check to see they've gotten rid of the person and any extraneous objects and then export the file in STL format.


I save the file on my desktop and then launch MakerWare. I click "ADD" and then find the student file to open. The object should be on the platform and, if not, the software will prompt one to "Move to platform?" which is helpful. In MakerWare, actual print size of student designs is obvious so this is
when you may want to scale up or down. You could even add additional objects to the platform to print multiple jobs at once.
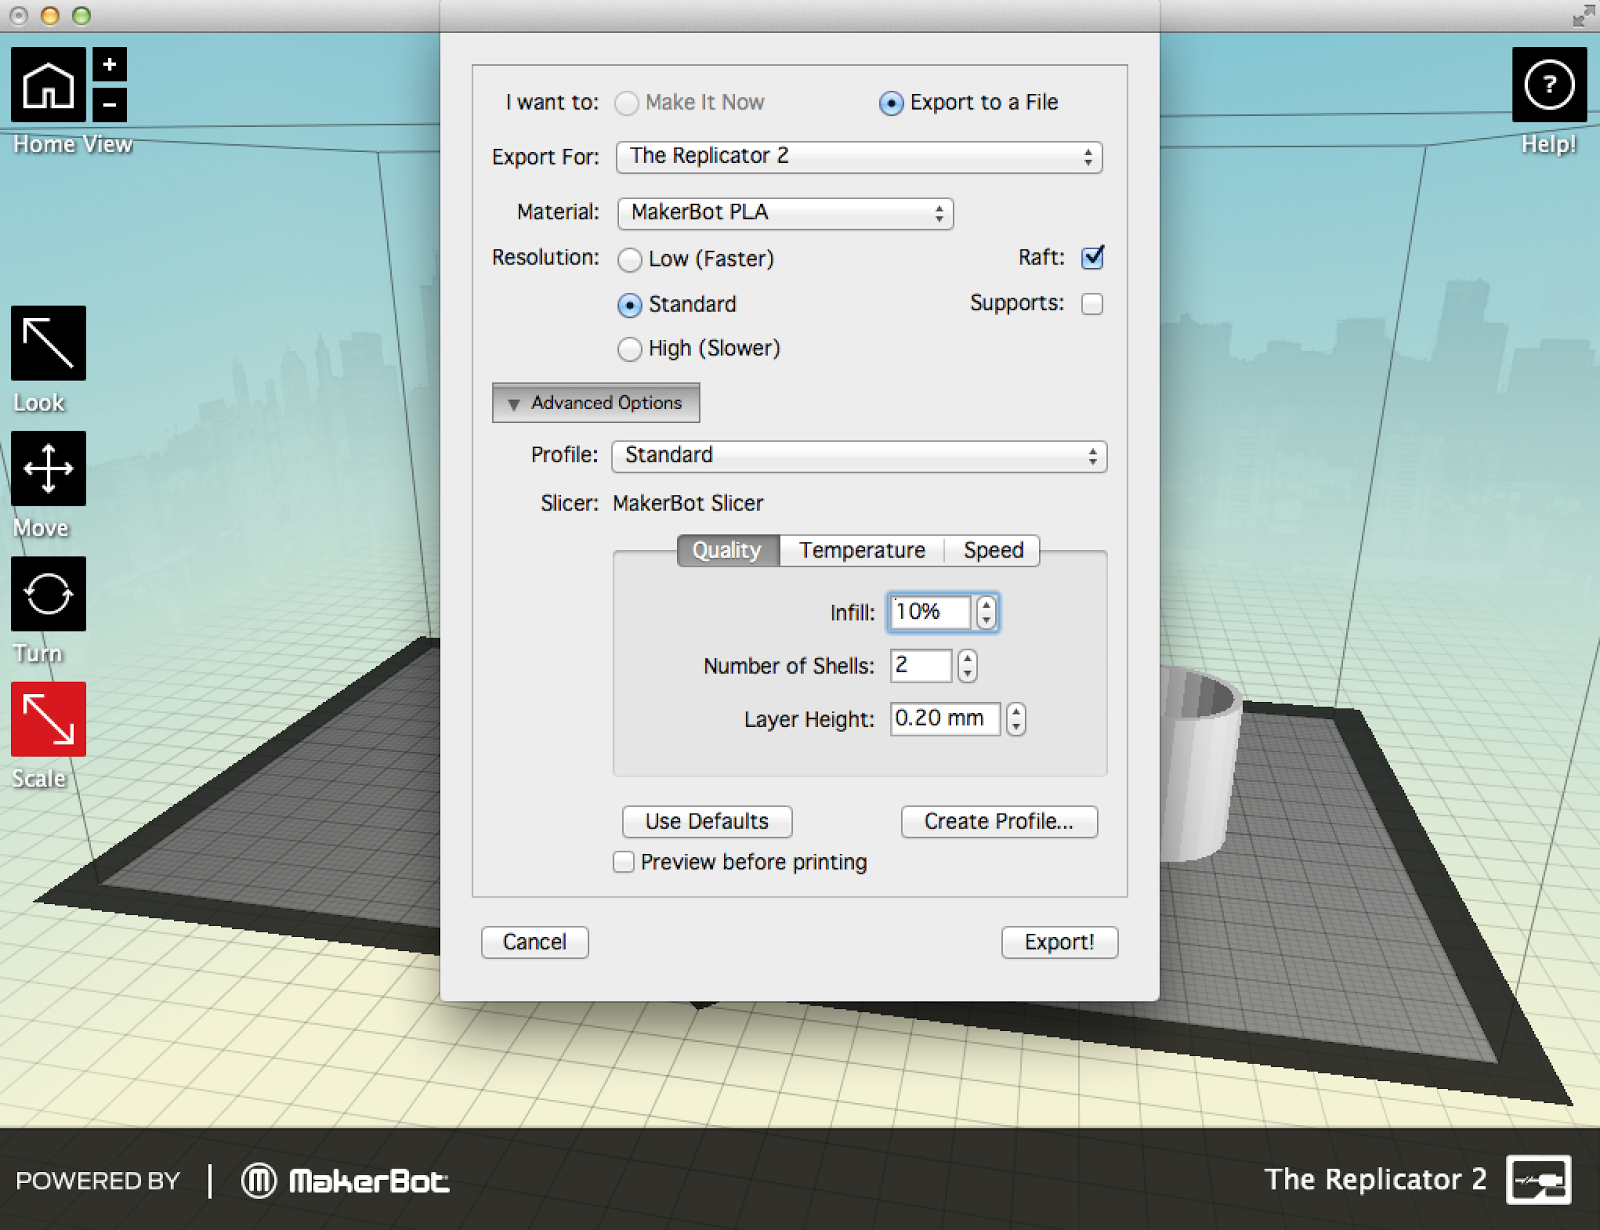 Once ready to print, just click on "MAKE" which brings up a new window. You can connect the Makerbot printer directly to your computer and choose "Make It Now" or choose the "Export to a
File" option. I like the second choice as I've been exporting to SD cards and printing from there. My computer isn't tethered to the printer and I can continue using it.
 I suggest saving the file as the student's name and color choice directly to the SD card. I look at student color choices and save files of the same color to the same SD card. This saves time rather than having to change the filament between student prints. Having multiple SD cards works great too. I believe the default format setting is X3G.
Let me say that printing takes a long time. I haven't been keeping track but my best estimate is that each student project takes over 90 minutes to print. Some are less and some take longer but on a good day I can print three or four designs. At this rate, it will take me 45 school days to print all of my students' designs-YIKES! I received red, white, blue and clear filament from MakerBot and Donor's Choose with my printer bundle. I purchased pink, purple, yellow, orange, light blue, and silver from Zeni Kinetic primarily due to their great Spools for Schools program. I see no difference in the final prints from either company's PLA.
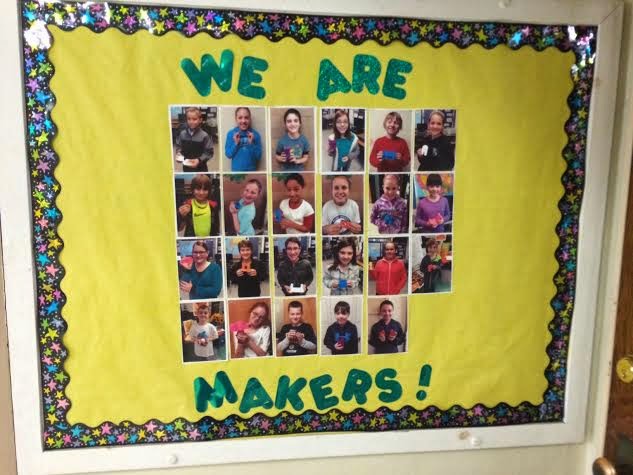 Over the past week, the MakerBot has been working all day, everyday and I haven't had any issues. I did level the build platform after taking off a print that was a bit stuck but that's it. I have left the printer on overnight to print larger designs that would just take too long to complete during the school day. As prints have finished, I find the student inventor and take a picture of him/her with their creation for the "We Are Makers!" bulletin board outside the lab. All of the finished prints are in a display case outside the main office for the larger school community to view. Students will take their inventions home after completing a reflection form on the whole process.
 Certainly we've had some great success with student designs in SketchUp. We've also had some "design flaws" which cause major printing issues. If a problem occurred during printing, the student is required to revisit and modify their original design. I'm more than happy to print again if a student took the time to "fix" the design issues. I expect to write another 3D printing post once everyone has completely finished the project and reflected on their learning.
Once students have completed their 3D planning sheet, they launch SketchUp which is installed on our lab computers. Students have a basic knowledge of how SketchUp works as they spent several class sessions working through the program/tools earlier in this process. Students are required to use their planning sheet sketch as a guide to create their 3D model. Any measurements needed were gathered prior to launching SketchUp. Depending upon the complexity of the invention, students may need more than one class session to complete the actual design. After two working sessions in SketchUp, approximately 40 students declared they were finished. These students were directed to save their projects to a network folder so I could access their files. At this point, the students' work is done and my work begins.
I access student files on the network and copy them to my computer lab's Google Drive account. This allows me to then download the files to my laptop. I have the most recent version of SketchUp on my computer with the STL extension which is needed to convert the files for printing. You can learn more about the needed extension by visiting the SketchUp website. I open each student's file, check to see they've gotten rid of the person and any extraneous objects and then export the file in STL format.
You need to choose the unit of measurement to export and I've been choosing millimeters as this seems to be most compatible with MakerWare.
A new dialog box appears and this is where I choose stl as the entities to export.
when you may want to scale up or down. You could even add additional objects to the platform to print multiple jobs at once.
 Once ready to print, just click on "MAKE" which brings up a new window. You can connect the Makerbot printer directly to your computer and choose "Make It Now" or choose the "Export to a
 File" option. I like the second choice as I've been exporting to SD cards and printing from there. My computer isn't tethered to the printer and I can continue using it.
I suggest saving the file as the student's name and color choice directly to the SD card. I look at student color choices and save files of the same color to the same SD card. This saves time rather than having to change the filament between student prints. Having multiple SD cards works great too. I believe the default format setting is X3G. Let me say that printing takes a long time. I haven't been keeping track but my best estimate is that each student project takes over 90 minutes to print. Some are less and some take longer but on a good day I can print three or four designs. At this rate, it will take me 45 school days to print all of my students' designs-YIKES! I received red, white, blue and clear filament from MakerBot and Donor's Choose with my printer bundle. I purchased pink, purple, yellow, orange, light blue, and silver from Zeni Kinetic primarily due to their great Spools for Schools program. I see no difference in the final prints from either company's PLA.
Over the past week, the MakerBot has been working all day, everyday and I haven't had any issues. I did level the build platform after taking off a print that was a bit stuck but that's it. I have left the printer on overnight to print larger designs that would just take too long to complete during the school day. As prints have finished, I find the student inventor and take a picture of him/her with their creation for the "We Are Makers!" bulletin board outside the lab. All of the finished prints are in a display case outside the main office for the larger school community to view. Students will take their inventions home after completing a reflection form on the whole process.
No comments:
Post a Comment